
The Top Three Essential Bike-Handling Skills
This post continues our series on A Beginner’s Guide to Bike Safety. Today we cover three essential bike handling skills that will keep you safe, and enhance your enjoyment of riding.

Wherever you ride, certain bike handling skills are essential.
These bike handling skills are essential whether you are riding on a multi-use path with other bicyclists, or on a road with cars. After you know how to balance and steer, these top three bike handling skills will serve you well.
Essential Bike Handling Skill #1: Starting and Stopping
It sounds simple, but do you know the best way to start and stop on your bike? Many people don’t.
If you’re only starting out from in front of your house and rolling through stop signs in your neighborhood, not knowing the best way to start and stop might not be a problem. But what about when you get out on a trail and interact with others, or when you get to a stop sign and actually must stop for a motorist who got there first?
If you’re on the road at a red light, knowing the best way to start lets you move out faster when the light turns green. Confidence in your stopping and starting is an essential first step.
The commonly recommended start is the “power pedal” start, which CyclingSavvy Instructor and author John Allen describes in this post. Besides being the most stable way to start, it’s the only method I know of that works on an uphill grade.
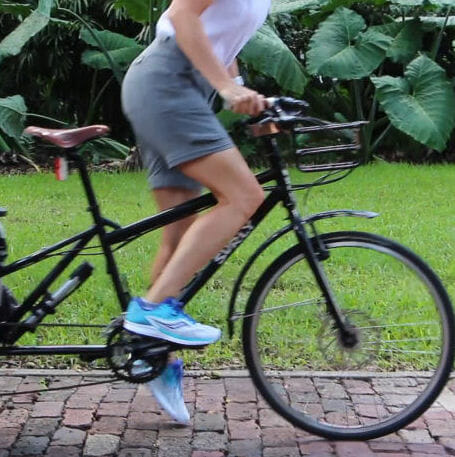
Power pedal starting technique: Standing in front of the saddle, push down and release the brakes as you start pedaling and shift your butt onto your seat.
Best Way to Start
Stand over your bike. On most bikes, if you can sit on the saddle while standing over your bike, the saddle is too low. If you create or have a free Savvy Cyclist membership, look for the excellent one-minute video on starting and stopping, which includes a visual demonstration of proper saddle height.
You must create an account at CyclingSavvy — at the “Free” level or higher — to watch this video, and all the useful videos in the free Essentials Short Course.
While you are standing over your bike, use the top of your foot to move one pedal to a “two-o’clock” position — but no higher than your bike’s down tube. This is the “Power Pedal” position.
With one foot in the “Power Pedal” position, your hands will be lightly holding your brakes. When you’re ready to start, you’ll perform three maneuvers at the same time. As you release the brakes, you’ll use your foot to start your “Power Pedal,” and you’ll lift your butt gently onto the saddle.
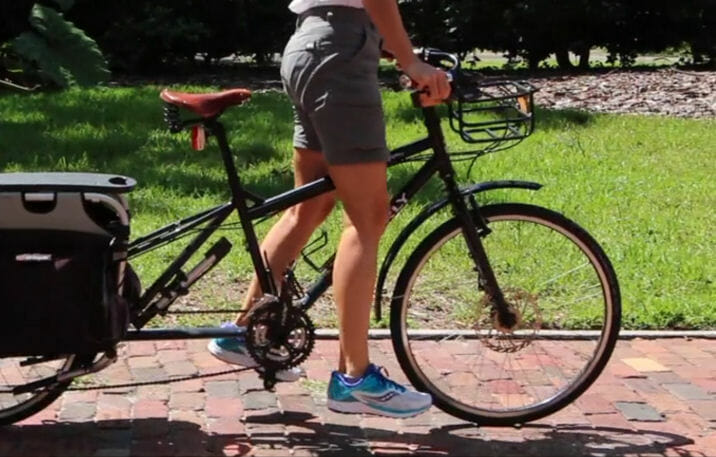
When stopping: With one foot in the “six-o’clock” position, put the other foot down to land.
Best Way to Stop
Take one foot off the pedal, put the other pedal down to the lowest “6 -clock” position, brake gently, and slide forward off the saddle, landing on the foot you took off the pedal.
Once you’re logged in to CyclingSavvy (with your free Savvy Cyclist or any membership), watch the one-minute video titled “Starting and Stopping.” This visual demonstration will speak a thousand words.
For a deep dive on this subject, see this article on Sheldon Brown’s website.
Essential Bike Handling Skill #2: Riding in a Straight Line
Do you wobble? You can practice holding a straight line in a lined parking lot, following a parking line. You’ll find it’s actually easier the faster you go.
Why is this important? Riding in a straight line is more predictable. Wobbling around makes it harder for you to control your bike. It also makes others on the road or path with you nervous, because they don’t know what you’re going to do.
Once you are okay with straight-line riding, practice riding with one hand, using the other to make a hand signal, maybe ring your bell or pick up and put back your water bottle, if you have those things.

Stability and straight line riding when hand signaling is an essential skill.
Essential Bike Handling Skill #3: Turning Your Head
This is key to your safety and confidence, because obviously you must be able to see what’s going on behind you before you change your line of travel. Even with a mirror, a head turn is essential, for a couple of reasons.
Mirrors have blind spots. Also, looking over your shoulder serves as communication. A shoulder check allows you to confirm that you have the attention of drivers (or path users) behind you. You let them know that you are aware of them, and alert them that you may be about to do something different.
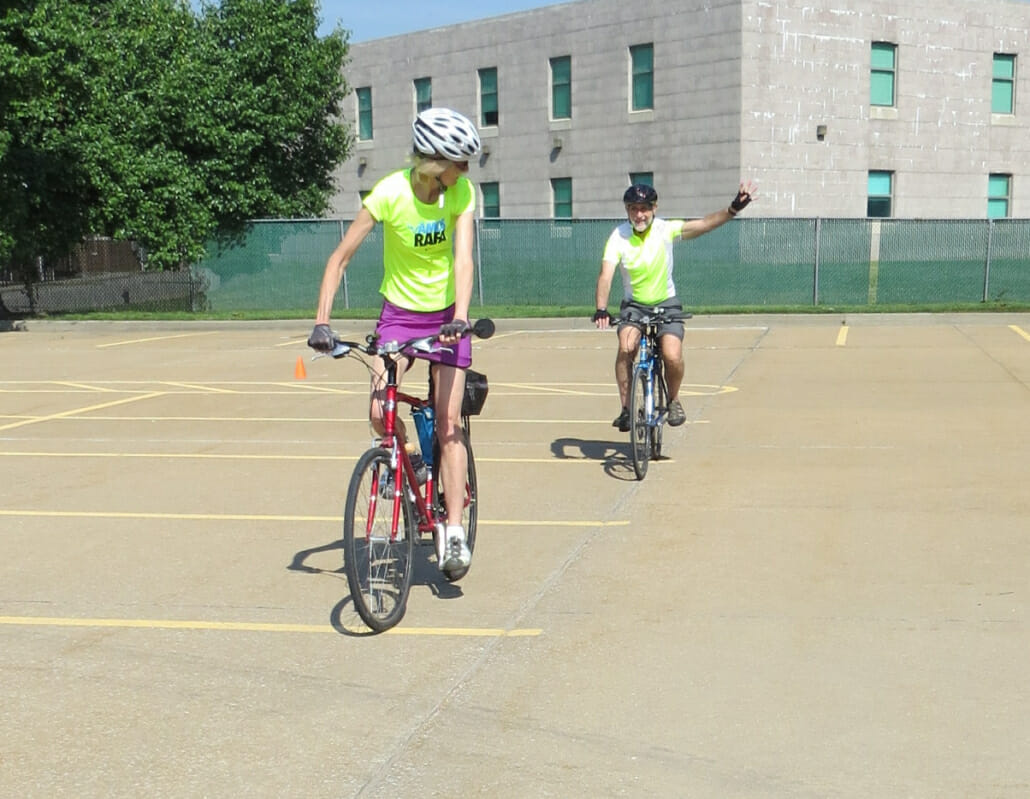
Practice “shoulder check” in a parking lot with a spouse or friend. Ride one in front of the other. The person behind can hold up fingers while the person in front looks over his/her/their shoulder, and shouts out how many fingers are held up.
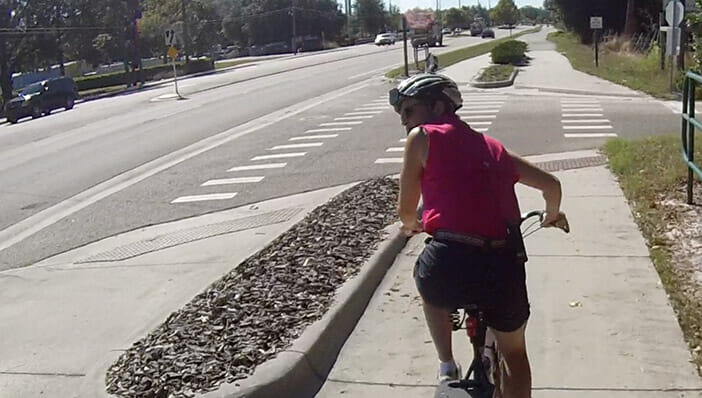
Whether on a road or on a path, look back. Don’t rely on a mirror.
Turning your head without swerving can be hard to do. Maybe that’s a reason many cyclists don’t do it. Practice makes perfect!
Different people look back in different ways. It also depends on the geometry of the bike. Like most physical actions, looking back is hard to describe, and it mostly just takes practice. Here are some ways you can practice, to see what works best for you:
- Keep both hands on the handlebar, and attend to keeping your arms straight.
- Mentally counteract the temptation to swerve left by imagining steering slightly to the right, without actually doing it.
- Whichever shoulder you are looking over, take your hand off that handlebar and place it on your thigh. (If you are looking over your left shoulder, you’d take your left hand off the handlebar.)
- Instead of simply rotating your head left, lean it a bit forward and down while looking back. This works especially well with road bike geometry, when you’re already leaning forward. Some road cyclists riding in an extreme aerodynamic position even look under their armpits!
- However you do it, you’ll be more stable and perhaps able to concentrate better if you stop pedaling momentarily.
Shoulder check is an essential skill.
As with other straight-line riding, you can practice this in a parking lot, riding along the lines. In class, we make it fun by having pairs of students ride one behind the other. The one in back holds up a certain number of fingers, and the one in front has to look back and tell the other how many fingers. Try it with a friend!
You’ll usually be looking behind to the left, but you may sometimes also need to look to the right, so practice that, too.
And onward…
Next: we’ll move on to a couple of skills which build on the basics: braking and cornering.